 FORTSCHRITT
Stainless Steel Welded Fabrication: Fit-up, Weld Sequence and Distortion Control
Stainless steel welded fabrication covers the parts that cannot be bought as a standard section: a rolled cone for a hopper, a rectangular duct run for a cleanroom, a tank shell with a dished bottom, a chimney section, a transition piece between two duct sizes. They are made from stainless sheet or plate, schneiden, rolled, fitted up and welded, and they fail in ways that a flat sheet never does. Distortion, weld oxidation, fit-up gaps and iron contamination are the four problems that decide whether a fabricated assembly passes inspection, and all four are controlled before the arc is struck rather than afterwards. This guide sets out the practical rules for fit-up, weld sequence and distortion control.
1. What Stainless Welded Fabrication Covers
A welded fabrication is any assembly built from cut and formed stainless material and joined by welding, as opposed to a mill product such as a tube, sheet or bar. The scope ranges from a single rolled cone to a complete skid-mounted tank with nozzles, supports and access covers.
Typical items include:
- Cones and transitions for hoppers, cyclones and duct reducers.
- Rectangular and round ductwork for food, pharmaceutical and cleanroom ventilation.
- Tank shells, dished ends, jackets and nozzles.
- Chimney and stack sections with flanged joints.
- Machine frames, guards and covers that must be washable.
- Skids, brackets and support structures welded to stainless process equipment.
2. Sorten und chemische Zusammensetzung
| Element | 304 / 304L (%) | 316L (%) | 310S (%) |
|---|---|---|---|
| C | ≤ 0.08 / ≤ 0.03 | ≤ 0.03 | ≤ 0.08 |
| Cr | 18.0–20.0 | 16.0–18.0 | 24.0–26.0 |
| In | 8.0–10.5 | 10.0–14.0 | 19.0–22.0 |
| MO | – | 2.0–3.0 | – |
| Und | ≤ 0.75 | ≤ 0.75 | ≤ 1.50 |
| Mn | ≤ 2.00 | ≤ 2.00 | ≤ 2.00 |
Grade choice follows the process fluid, not the workshop’s stock. 304L is adequate for water, Essen, dairy and most indoor ventilation. 316L is required for chloride-bearing streams, seawater cooling, pharmaceutical cleaning regimes and coastal installations. 310S is chosen for high-temperature service, typischerweise oben 800 °C, where oxidation resistance rather than aqueous corrosion is the issue.
The low-carbon “L” grades matter in fabrication because welding thick sections of standard-carbon 304 can sensitise the heat-affected zone, precipitating chromium carbides at the grain boundaries and leaving the metal susceptible to intergranular corrosion. Using 304L or 316L removes most of that risk without a post-weld solution anneal.
3. Mechanische Eigenschaften
| Eigentum | 304L | 316L | 310S |
|---|---|---|---|
| Streckgrenze (0.2%) | ≥ 170 MPa | ≥ 170 MPa | ≥ 205 MPa |
| Zugfestigkeit | ≥ 485 MPa | ≥ 485 MPa | ≥ 515 MPa |
| Verlängerung | ≥ 40% | ≥ 40% | ≥ 35% |
| Weld joint efficiency | 0.85–1.00 | 0.85–1.00 | 0.85–1.00 |
| Max service temperature (continuous) | 425 °C | 450 °C | 1150 °C |
The weld joint efficiency figure is the one that governs design of a fabricated shell. A butt weld made with matching filler and full penetration can be assigned an efficiency of 1.0 in some codes, but only if the weld is radiographed or otherwise verified. Where inspection is visual only, most designs assume 0.85, which means the shell thickness is set by the weld rather than by the base metal.
4. Dimensional Tolerances
| Besonderheit | Typischer Bereich | Toleranz |
|---|---|---|
| Shell diameter | 200–3000 mm | ±1.5 mm up to 1000 mm; ±0.2% above |
| Rundheit | – | ≤ 1% of diameter |
| Geradlinigkeit | – | ≤ 3 mm/m |
| Cone half-angle | 15°–75° | ±0.5° |
| Weld leg length | 3–10 mm | +1 / −0 mm |
| Fit-up gap before welding | – | ≤ 1.0 mm for sheet ≤ 3 mm |
| Flange squareness | – | ≤ 1 mm pro 100 mm of diameter |
| Oberflächenbeschaffenheit | 2B, Nr.4, eingelegt | No heat tint, no iron contamination |
5. Manufacturing Process
5.1 Schneiden
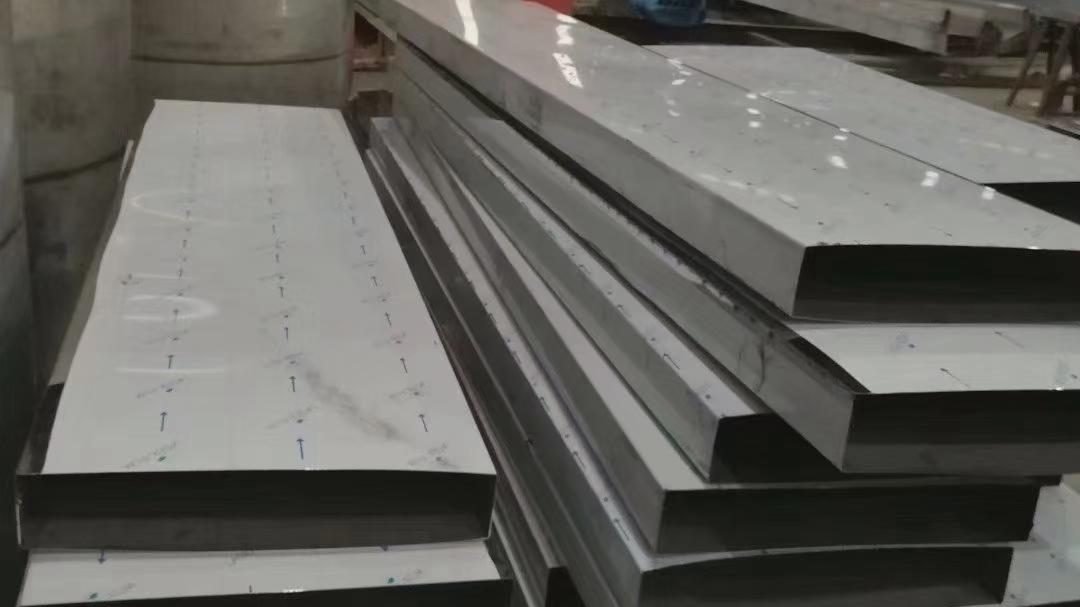
Laser, waterjet and plasma all cut stainless sheet; each leaves a different edge. Laser gives a narrow kerf and a clean edge suitable for direct welding. Plasma leaves a nitride layer on the cut face that must be removed before welding or it will cause porosity. Waterjet leaves an abrasive-free edge, ideal for hygienic work where heat tint is unacceptable. Shearing is acceptable for straight cuts but work-hardens the edge, so the cut line should be dressed before welding.
5.2 Rolling and forming
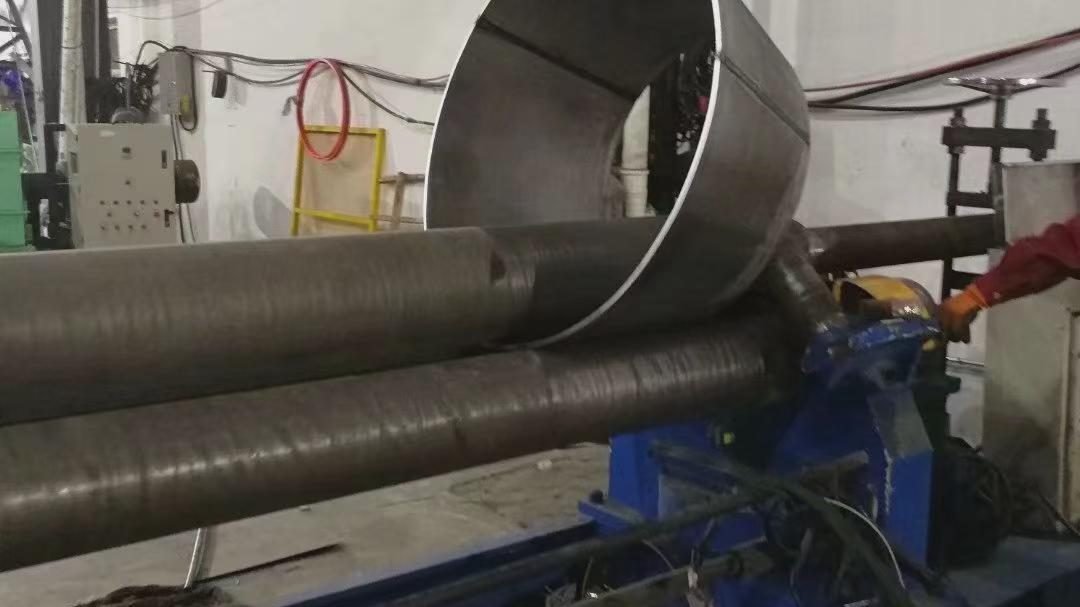
Cylinders are rolled on a three-roll or four-roll plate bender. The critical detail is the end closure: the last 50 Zu 100 mm of the sheet must be pre-bent to the final radius, otherwise the seam closes with a flat spot that cannot be welded without a gap. Cones are rolled with the small end first and the seam checked for straightness before welding; a twisted cone seam produces a cone that is visibly oval.
5.3 Fit-up
Fit-up determines weld quality more than any other step. Four rules cover most of it:
- Keep the gap below 1 mm on sheet up to 3 mm, and below 2 mm on plate above 6 mm.
- Tack weld at intervals no greater than 150 mm, and tack in a sequence that alternates from the centre outward.
- Clamp or fixture the assembly before welding; a free-standing shell will distort in the direction that offers least restraint.
- Check alignment of the two faces before any tack is made. Once tacked, A 1 mm misalignment becomes a permanent step that cannot be corrected without cutting the tack.
5.4 Schweißen
GTAW with direct current, electrode negative, is the standard process for sheet up to 4 mm. GMAW with pulsed transfer is used above 4 mm for productivity. Filler selection follows the base metal: ER308L for 304L, ER316L for 316L, ER310 for 310S. For dissimilar joints, an over-alloyed filler such as ER309L is used to compensate for dilution.
Heat input should be kept low: a common target is below 1.5 kJ/mm for sheet work, achieved with small stringer beads, no weaving, and interpass temperature below 150 °C. High heat input produces a wide, heavily oxidised weld and a distorted section, and it increases the risk of sensitisation in the heat-affected zone.
6. Weld Sequence and Distortion Control
Distortion in a welded stainless assembly is caused by shrinkage of the weld metal and by the thermal gradient through the thickness. Both are predictable, and both can be managed by sequence rather than by afterwards straightening.
- Weld from the centre outward. Start at the middle of a long seam and work toward both ends, so the shrinkage is balanced and the ends are free to move.
- Use backstep welding on long seams. Weld 200 mm, skip 200 mm, return to fill the skipped length. This keeps the accumulated shrinkage local instead of pulling the whole seam.
- Balance the two sides. On a symmetrical part such as a duct, complete the same amount of weld on both sides before moving on, so the section does not bend toward the welded side.
- Keep the part restrained until cool. Remove fixtures only after the assembly has cooled below 60 °C; releasing a hot part allows the residual stress to bow it.
- Do not over-tack. Excessive tacking locks in stress; use the minimum number of tacks that holds the fit-up.
- Sequence the nozzles last. On a tank shell, complete the longitudinal seam, then the circumferential seams, then the nozzles, so the largest shrinkage occurs while the part is still free to move.
Where distortion cannot be avoided, the correct remedy is controlled straightening with local heat and a fixture, followed by re-inspection. Hammering or press-bending a welded stainless section cold leaves residual stress and can crack the weld toe; it is not a repair method.
Fixtures deserve a note of their own because they are usually improvised on the shop floor. A useful fixture does three things: it holds the intended geometry, it allows the part to shrink without being locked rigid, and it does not itself become a heat sink that creates a cold joint. Clamps should be placed where the section is stiff, not where the weld will be, and the fixture should be checked for squareness before the first tack. On repeated production, a simple jig built from channel and wedges pays for itself within a few pieces by removing the trial-and-error straightening that otherwise follows every weld.
Pre-setting is the other technique worth knowing. If experience shows that a particular duct corner pulls in by 3 mm, set the corner 3 mm outward before welding so the finished part lands on dimension. Pre-setting is not a substitute for a correct sequence, but on a repeated part it is a reliable way to close the last millimetre without post-weld work.
7. Post-Weld Cleaning and Passivation
Every weld leaves a heat tint, a thin oxide film that is depleted in chromium and therefore less corrosion resistant than the parent metal. On 304L the tint ranges from straw to dark blue; on 316L it may appear grey. The tint must be removed, not painted over.
Pickling paste or a pickling bath dissolves the tint and the chromium-depleted layer beneath it, and the subsequent passivation restores the passive film. For large fabrications, local pickling with a gel and thorough rinsing is practical; for small parts, a pickling bath gives a more uniform result. Mechanical methods such as stainless wire brushing and grinding are acceptable for light tint but must use stainless-specific consumables, never a carbon steel brush that embeds iron particles.
Iron contamination is the second post-weld issue. Fabricated assemblies are often handled with the same lifting gear, slings and workbenches as carbon steel parts, and a single embedded particle will produce a rust spot that grows into a stain. Dedicated stainless tooling, clean benches and a final passivation step are the controls. A ferroxyl test or a simple copper sulphate test on a sample area will show free iron before the part leaves the workshop.
Verifying that cleaning actually worked is part of the job, kein optionales Extra. Three checks are cheap and cover most cases: a visual inspection under oblique light for residual tint, a water-break test where a continuous water film should remain unbroken for 30 seconds, and a ferroxyl test on the weld cap and the heat-affected zone. If the water film breaks into droplets, the surface still carries oil or oxide and the passivation has not taken. Record the result with the piece identification; a client who later reports staining will ask what was measured at despatch.
8. Inspection
Inspection should match the service. For a ventilation duct, dimensional check and visual weld inspection are enough. For a tank or a pressure part, add at least one volumetric method. Practical options:
- Visual inspection of every weld for leg length, undercut, porosity and heat tint.
- Dye penetrant on the root and cap where surface-breaking defects are the concern.
- Radiography on butt welds in tanks and pressure parts, sampled at a percentage agreed with the client.
- Dimensional inspection of diameter, Rundheit, straightness and flange squareness after cooling, not immediately after welding.
- Ferroxyl or copper sulphate test for free iron on hygienic and coastal-service parts.
9. Common Misconceptions
- “Any stainless filler will do.” 308L filler in a 316L joint dilutes the molybdenum and produces a weld that pits before the parent metal.
- “Heat tint is only cosmetic.” The tinted layer is chromium-depleted and is the first place corrosion appears; on hygienic equipment it is also a site for bacterial attachment.
- “Grinding the weld is the same as pickling.” Grinding removes the visible tint but smears the surface and can leave iron from the disc; pickling dissolves the depleted layer.
- “Distortion can be pressed out afterwards.” Cold straightening leaves residual stress and risks cracking at the weld toe. Control the sequence instead.
- “A bigger weld is a stronger weld.” Excess weld volume increases heat input and shrinkage, and the extra leg length adds nothing to static strength.
- “Stainless does not need protection during fabrication.” Grinding sparks from carbon steel work, dirty benches and shared slings are the most common sources of rust on a new stainless assembly.
- “All 304 is the same.” Carbon content decides whether the heat-affected zone sensitises; 304L exists for a reason and costs little more.
10. Häufig gestellte Fragen
What is the maximum fit-up gap allowed before welding?
For sheet up to 3 mm, 1.0 mm; for plate 3 Zu 6 mm, 1.5 mm; above 6 mm, 2.0 mm. Larger gaps need a consumable insert or a backing purge to avoid burn-through and oxidation.
Should the back of a stainless weld be purged?
Ja, wherever the root is exposed to a corrosive service. Argon or a forming gas purge keeps oxygen below 50 ppm at the root; without it the root sugars and corrodes from the inside.
How do I stop a cone from going oval?
Pre-bend the ends to the final radius, roll with the small end first, tack along the seam before welding, and weld in short backstep runs from the centre. Do not weld the seam in one continuous pass from one end.
Kann ich schweißen? 304 to 316L?
Ja, with ER316L filler so the joint matches the more corrosion-resistant side. Für 304 to carbon steel, use ER309L to compensate for dilution.
Is post-weld annealing necessary?
For 304L and 316L sheet work, no. For thick sections, highly restrained joints or service in chloride, a solution anneal at 1050 Zu 1120 °C followed by rapid cooling restores the microstructure, but it also risks distortion and is usually avoided by correct grade and heat input selection.
What causes porosity in stainless welds?
Dirty material, inadequate shielding gas, moisture in the joint, or a plasma-cut edge that was not cleaned. Stainless is less forgiving of surface contamination than carbon steel.
How is a rectangular duct kept square?
Assemble on a flat bed with internal spacers, tack the corners before welding the seams, and weld opposite corners in alternation so the shrinkage is balanced.
Can fabricated stainless parts be shipped with heat tint left on?
Only for dry, non-corrosive service and with the client’s written acceptance. For food, pharmazeutisch, coastal or immersed service, the tint must be removed and the surface passivated before shipment.
What tolerance should I specify for a tank shell diameter?
±1.5 mm up to 1000 mm diameter is realistic for rolled sheet; above that, ±0.2 percent of diameter is the practical limit without a machined ring.
How much distortion is normal after welding a 2 mm duct section?
A 2 mm rectangular section of 1 m length typically bows 2 Zu 4 mm after welding if unrestrained. With fixtures and a balanced sequence it can be held under 2 mm.
11. Next Step
Send the drawing or sketch with grade, Dicke, principal dimensions, weld inspection requirement and surface finish, and we will confirm the fabrication route, the achievable tolerances and the price for the quantity you need.
Related product pages: 304 stainless steel sheet 2B finish, 316L Edelstahlplatte.